

Let's dive into the magical world of turning old bread into glorious breadcrumbs! Why settle for store-bought breadcrumbs when you can craft your own breadcrumb magic right at home? Let me count the ways! First, making your own breadcrumbs gives you total control over the ingredients, ensuring they're as fresh and wholesome as can be. Plus, it's a fantastic way to repurpose leftover bread, reducing food waste like a champ. Not to mention, homemade breadcrumbs are infinitely customizable—you can jazz them up with herbs, spices, or cheeses to suit your taste buds. And let's not forget about the texture—crunchy, golden, and oh-so-satisfying. Oh, and did I mention the cost savings? Making your own breadcrumbs is a budget-friendly alternative that'll have you feeling like a kitchen superhero. So, ditch the store-bought stuff and embark on a breadcrumb-making adventure—it's easy, rewarding, and downright delicious!
With just a sprinkle of creativity and a dash of effort, you can whip up a batch of these beauties in no time.
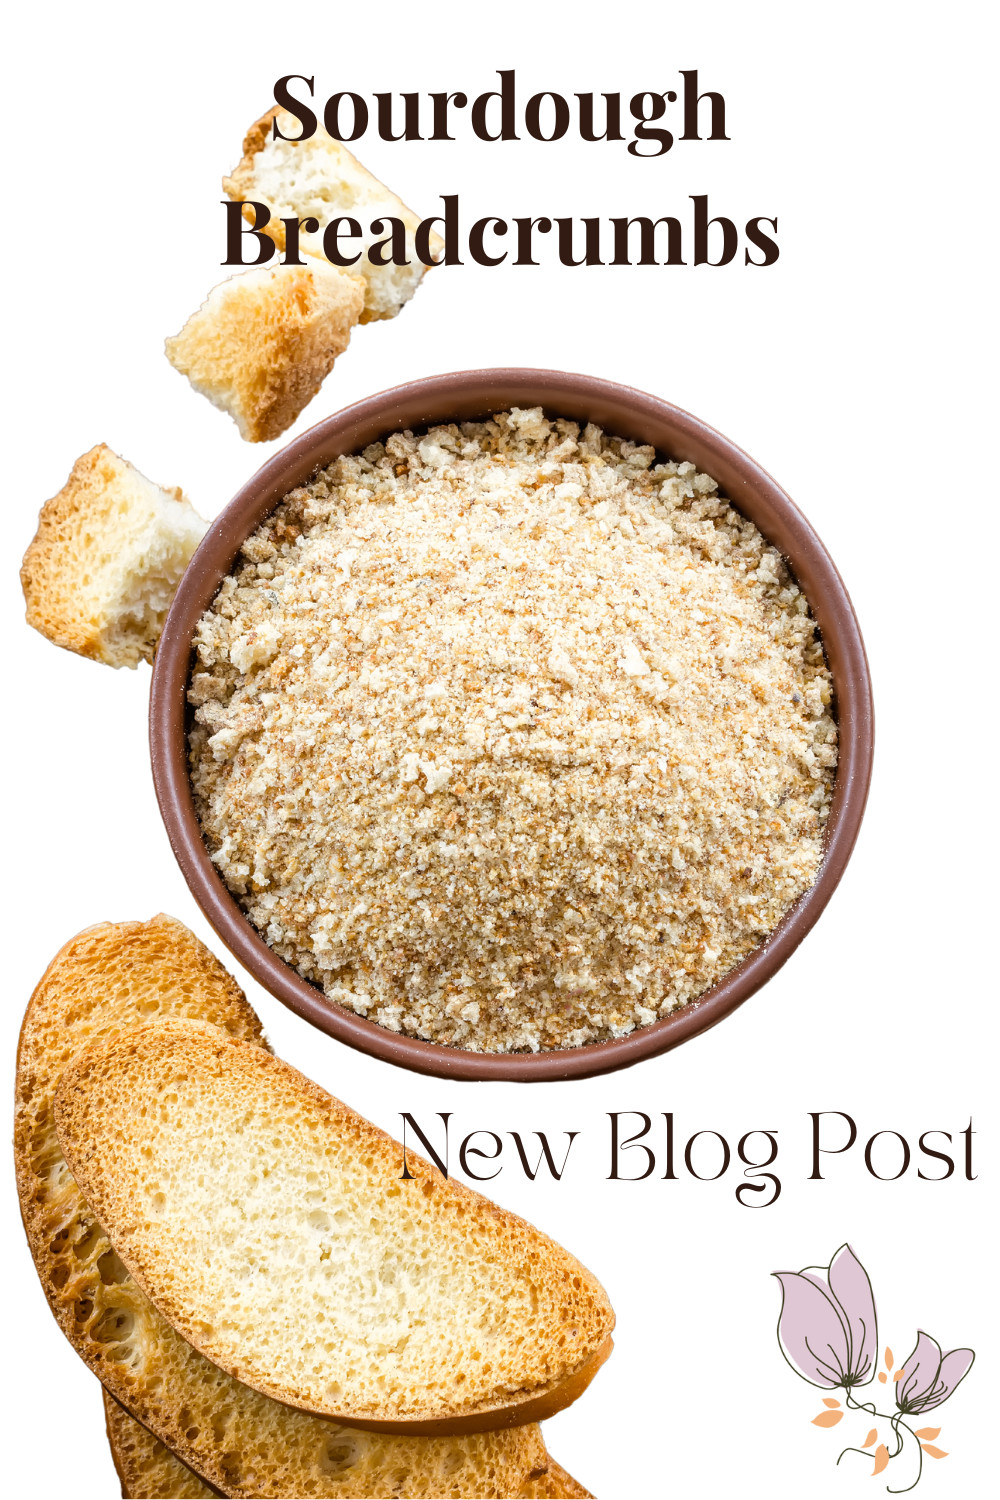
Whether you're a sourdough aficionado or you've got some other bread hanging around, this recipe is your ticket to breadcrumb bliss.
Prep Time: 10 minutes
Cook Time: 25 minutes
Total Time: 35 minutes
Yield: 4 cups
We're talking about a transformation here, folks. That sad, leftover loaf sitting on your countertop? Say hello to its new life as crunchy, flavorful breadcrumbs. And get this, it only takes about 10 minutes of your time to make the magic happen. Plus, breadcrumbs freeze like champs!
Ingredients:
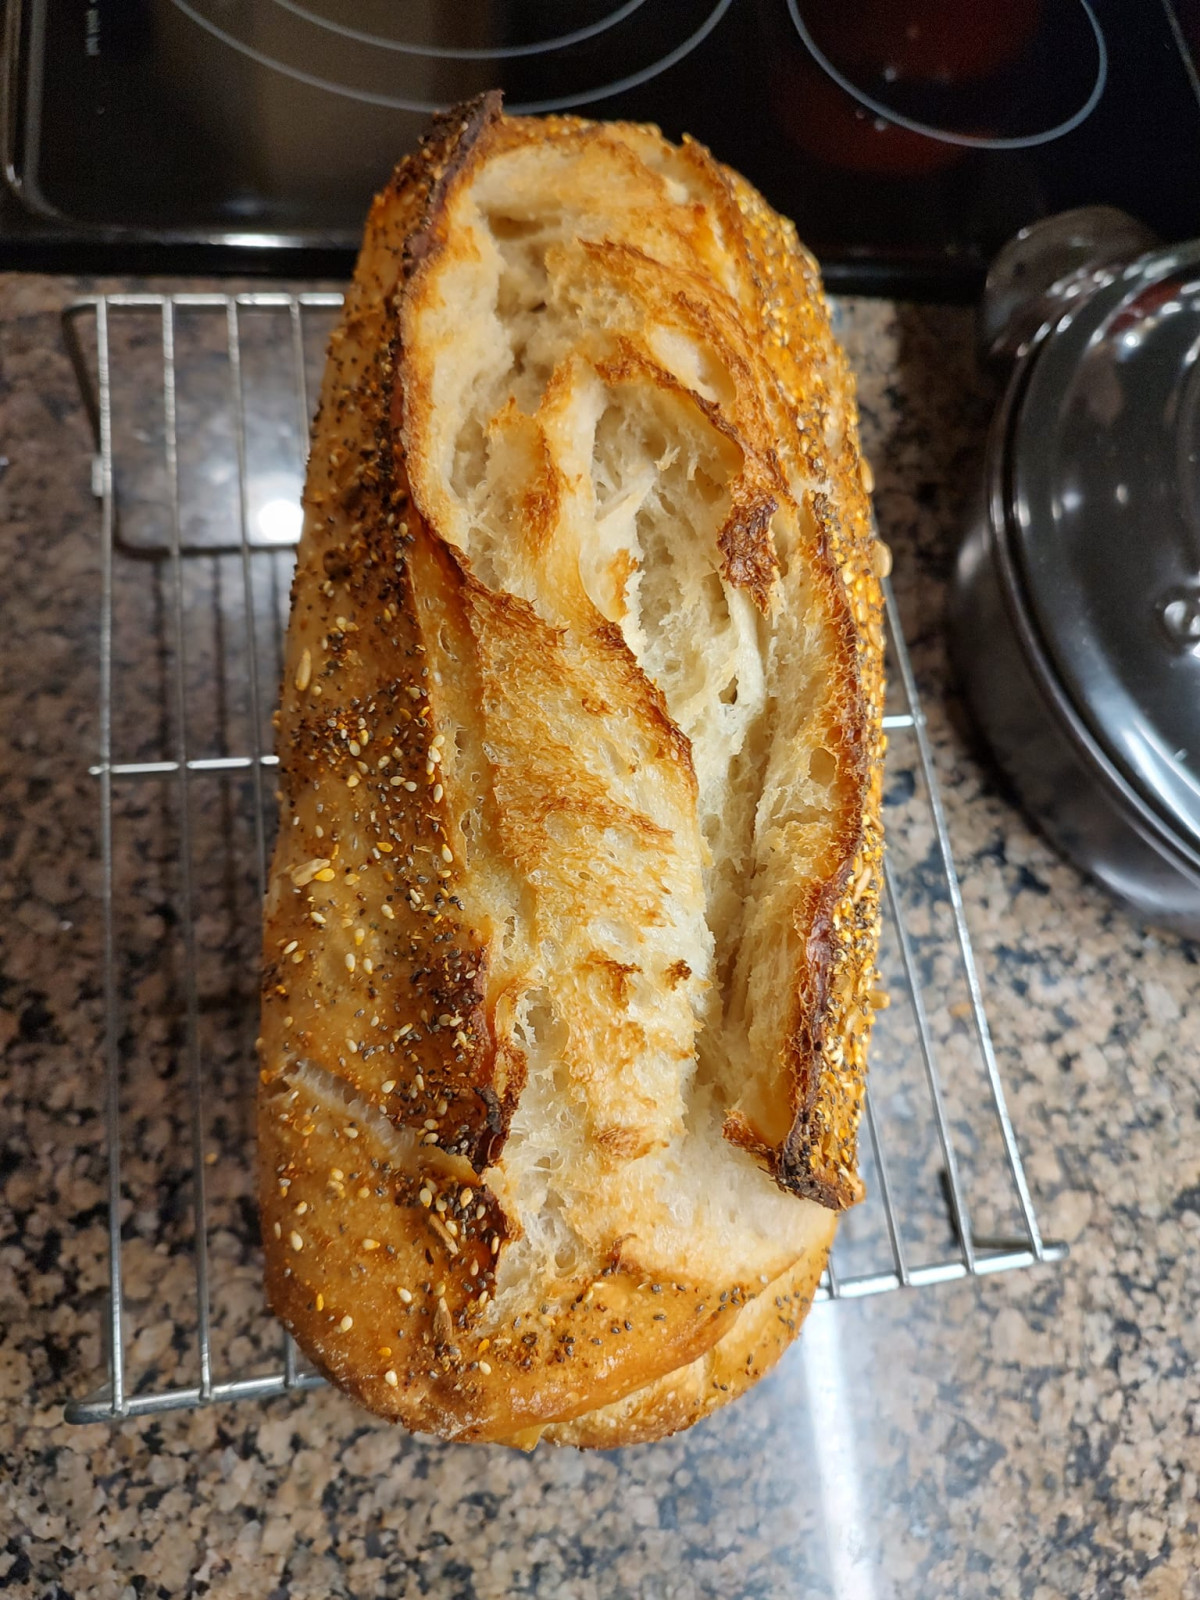
- 1 lb. (appx. 450 g) day-old bread (sourdough, baguette, focaccia, you name it!)
- 1 tsp dried garlic powder
- 1 tsp dried onion powder
- 1 tsp fine sea salt
- 2 tsp dried oregano
- 1 Tbsp dried parsley
- 1/4 cup (30 g) ground Parmesan cheese
Instructions:
Preheat your oven to 300˚ F (150˚ C). Grab your trusty rimmed baking sheets (you'll need two).
Now, let's get down to business.
 Cut that bread into cute little cubes, crust and all, roughly 1-inch in size.
 Toss those cubes into a food processor or high-powered blender (you might need to work in batches here). 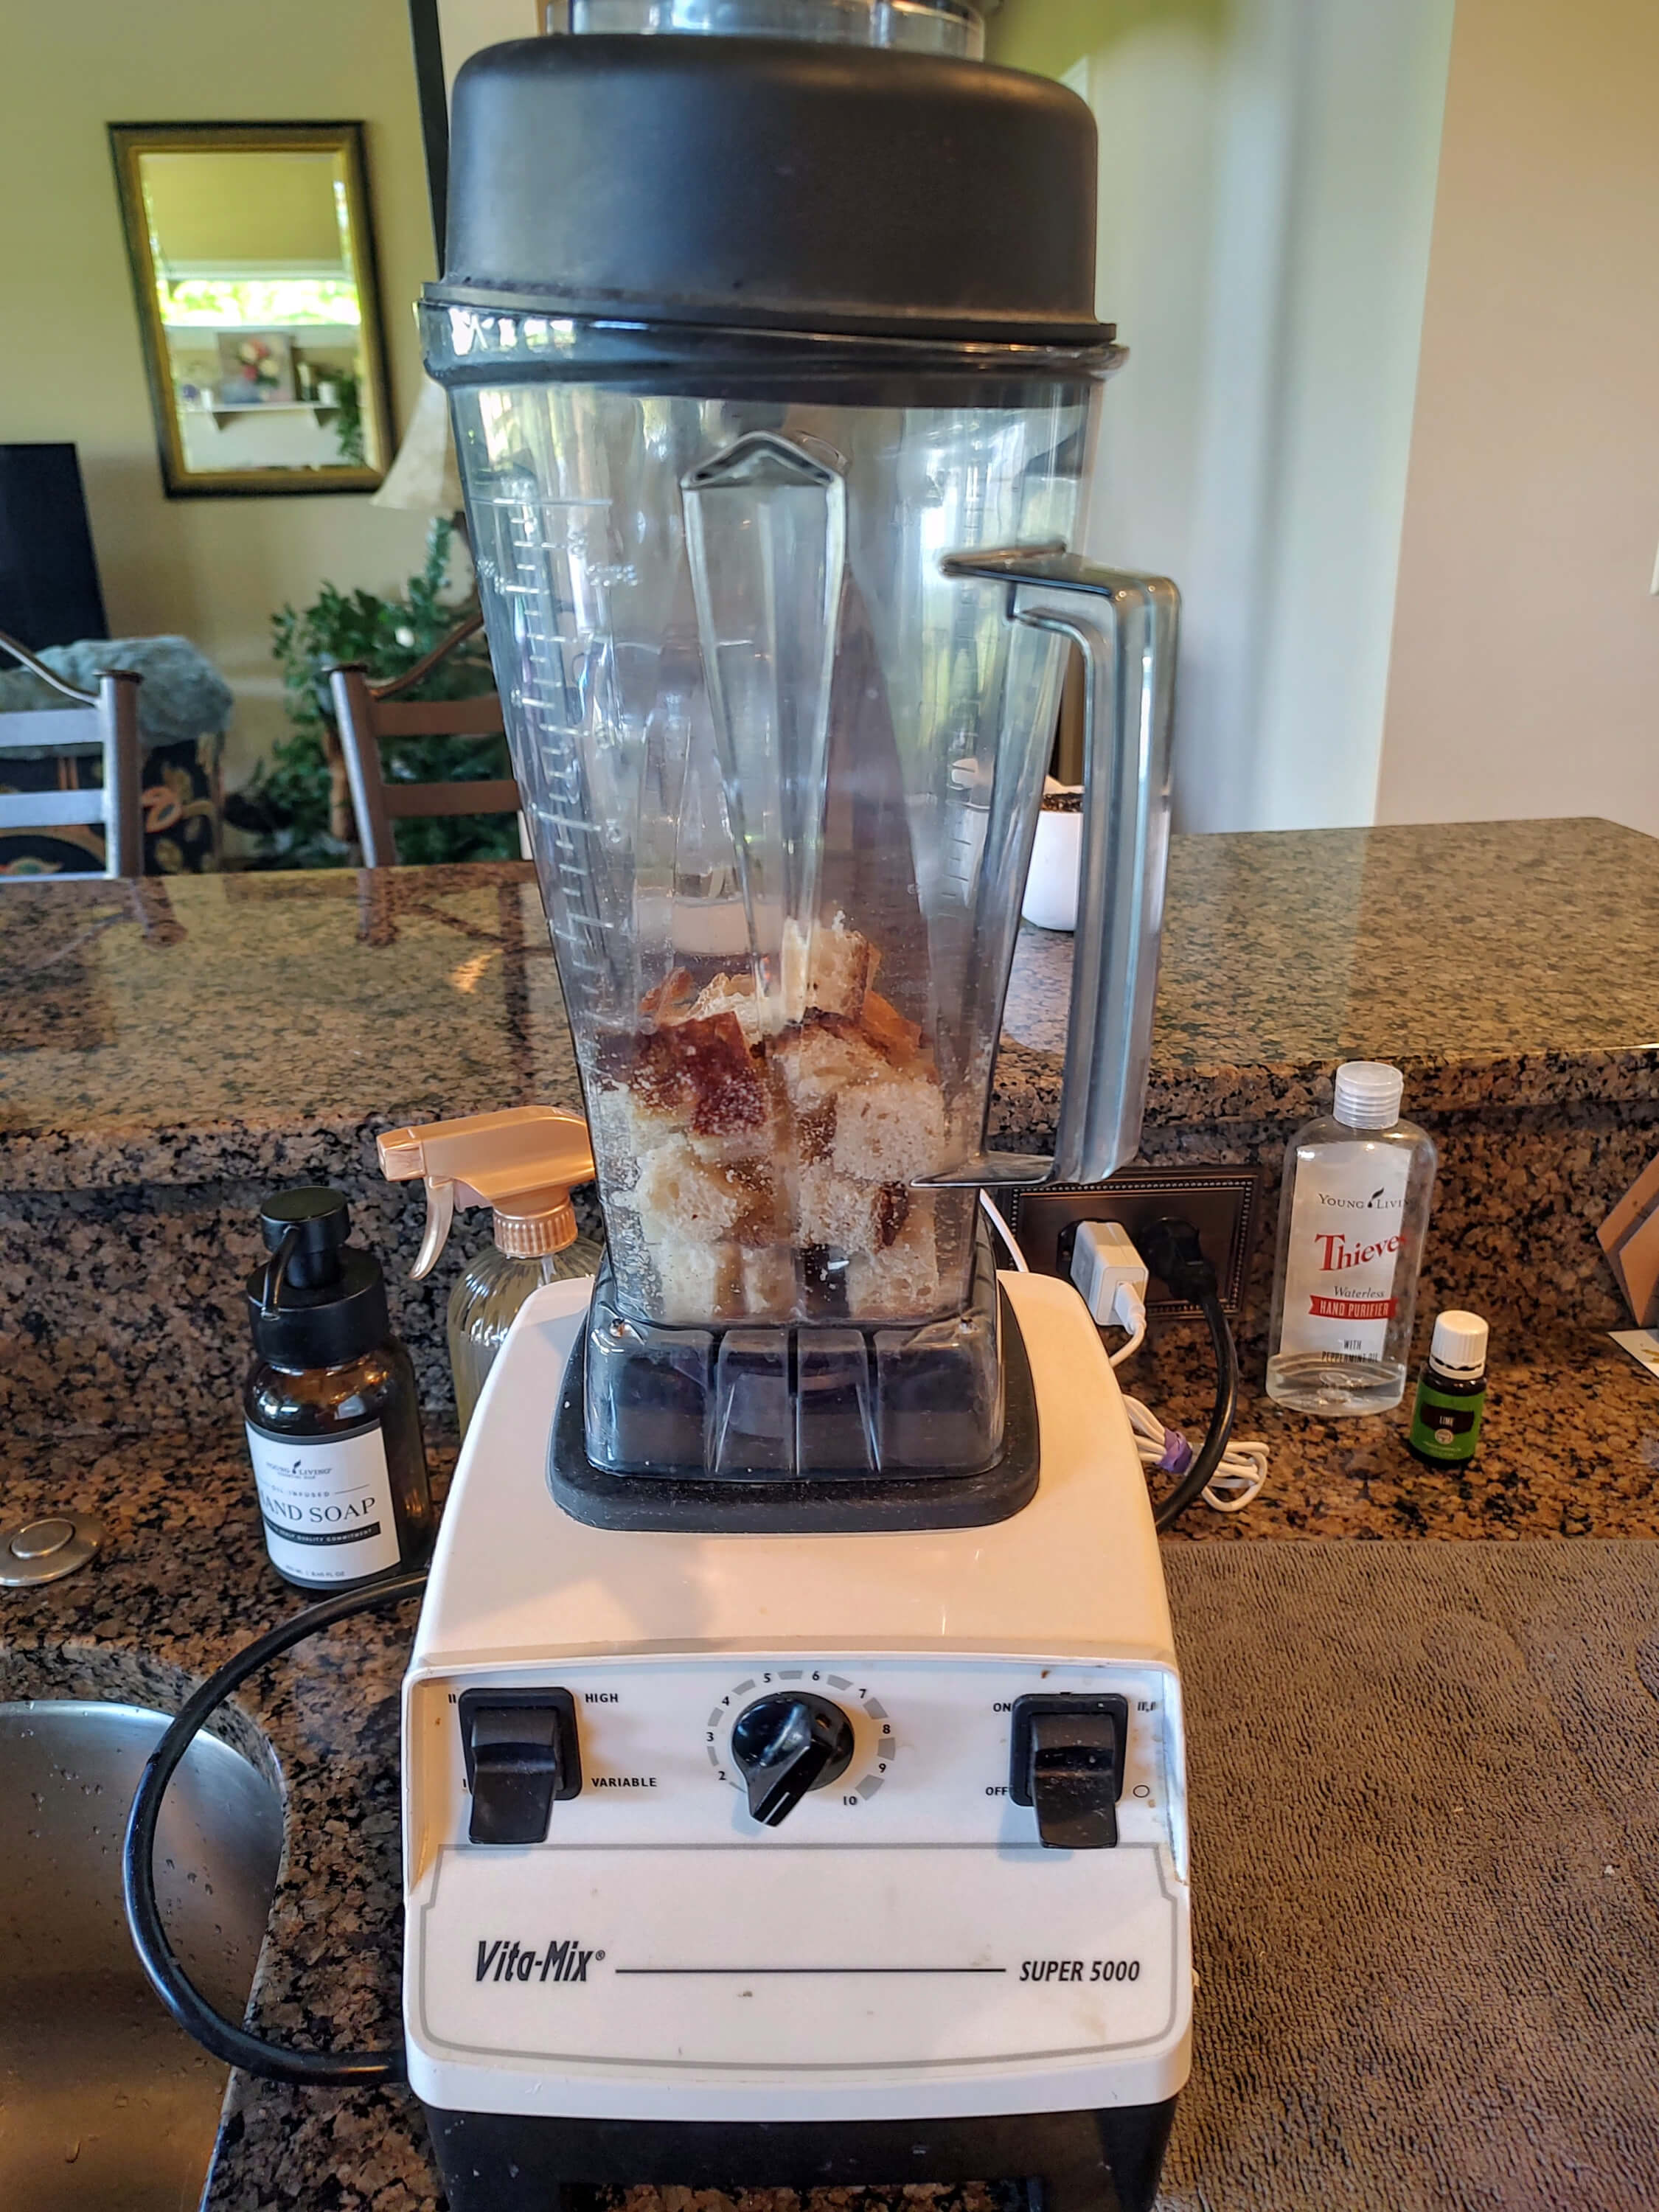
Blitz away until you've got some fine crumbs going on.
Pro tip: If they're not quite small enough yet, you can give them another whirl after baking.
Spread those breadcrumb beauties out evenly on your baking sheets. We're talking one smooth layer per sheet.
Pop those babies in the oven and let them do their thing for 15-30 minutes.
Give them a stir halfway through and keep an eye on them—they're ready when they're golden and crispy. (Timing can vary).
Once they're out of the oven, let those breadcrumbs cool their heels for a bit.
Now, here's where the fun comes in. You can keep them plain Jane or kick it up a notch with some Italian flair. Just sprinkle in that garlic, onion, salt, oregano, parsley, and cheese.
Mix it all up real nice.
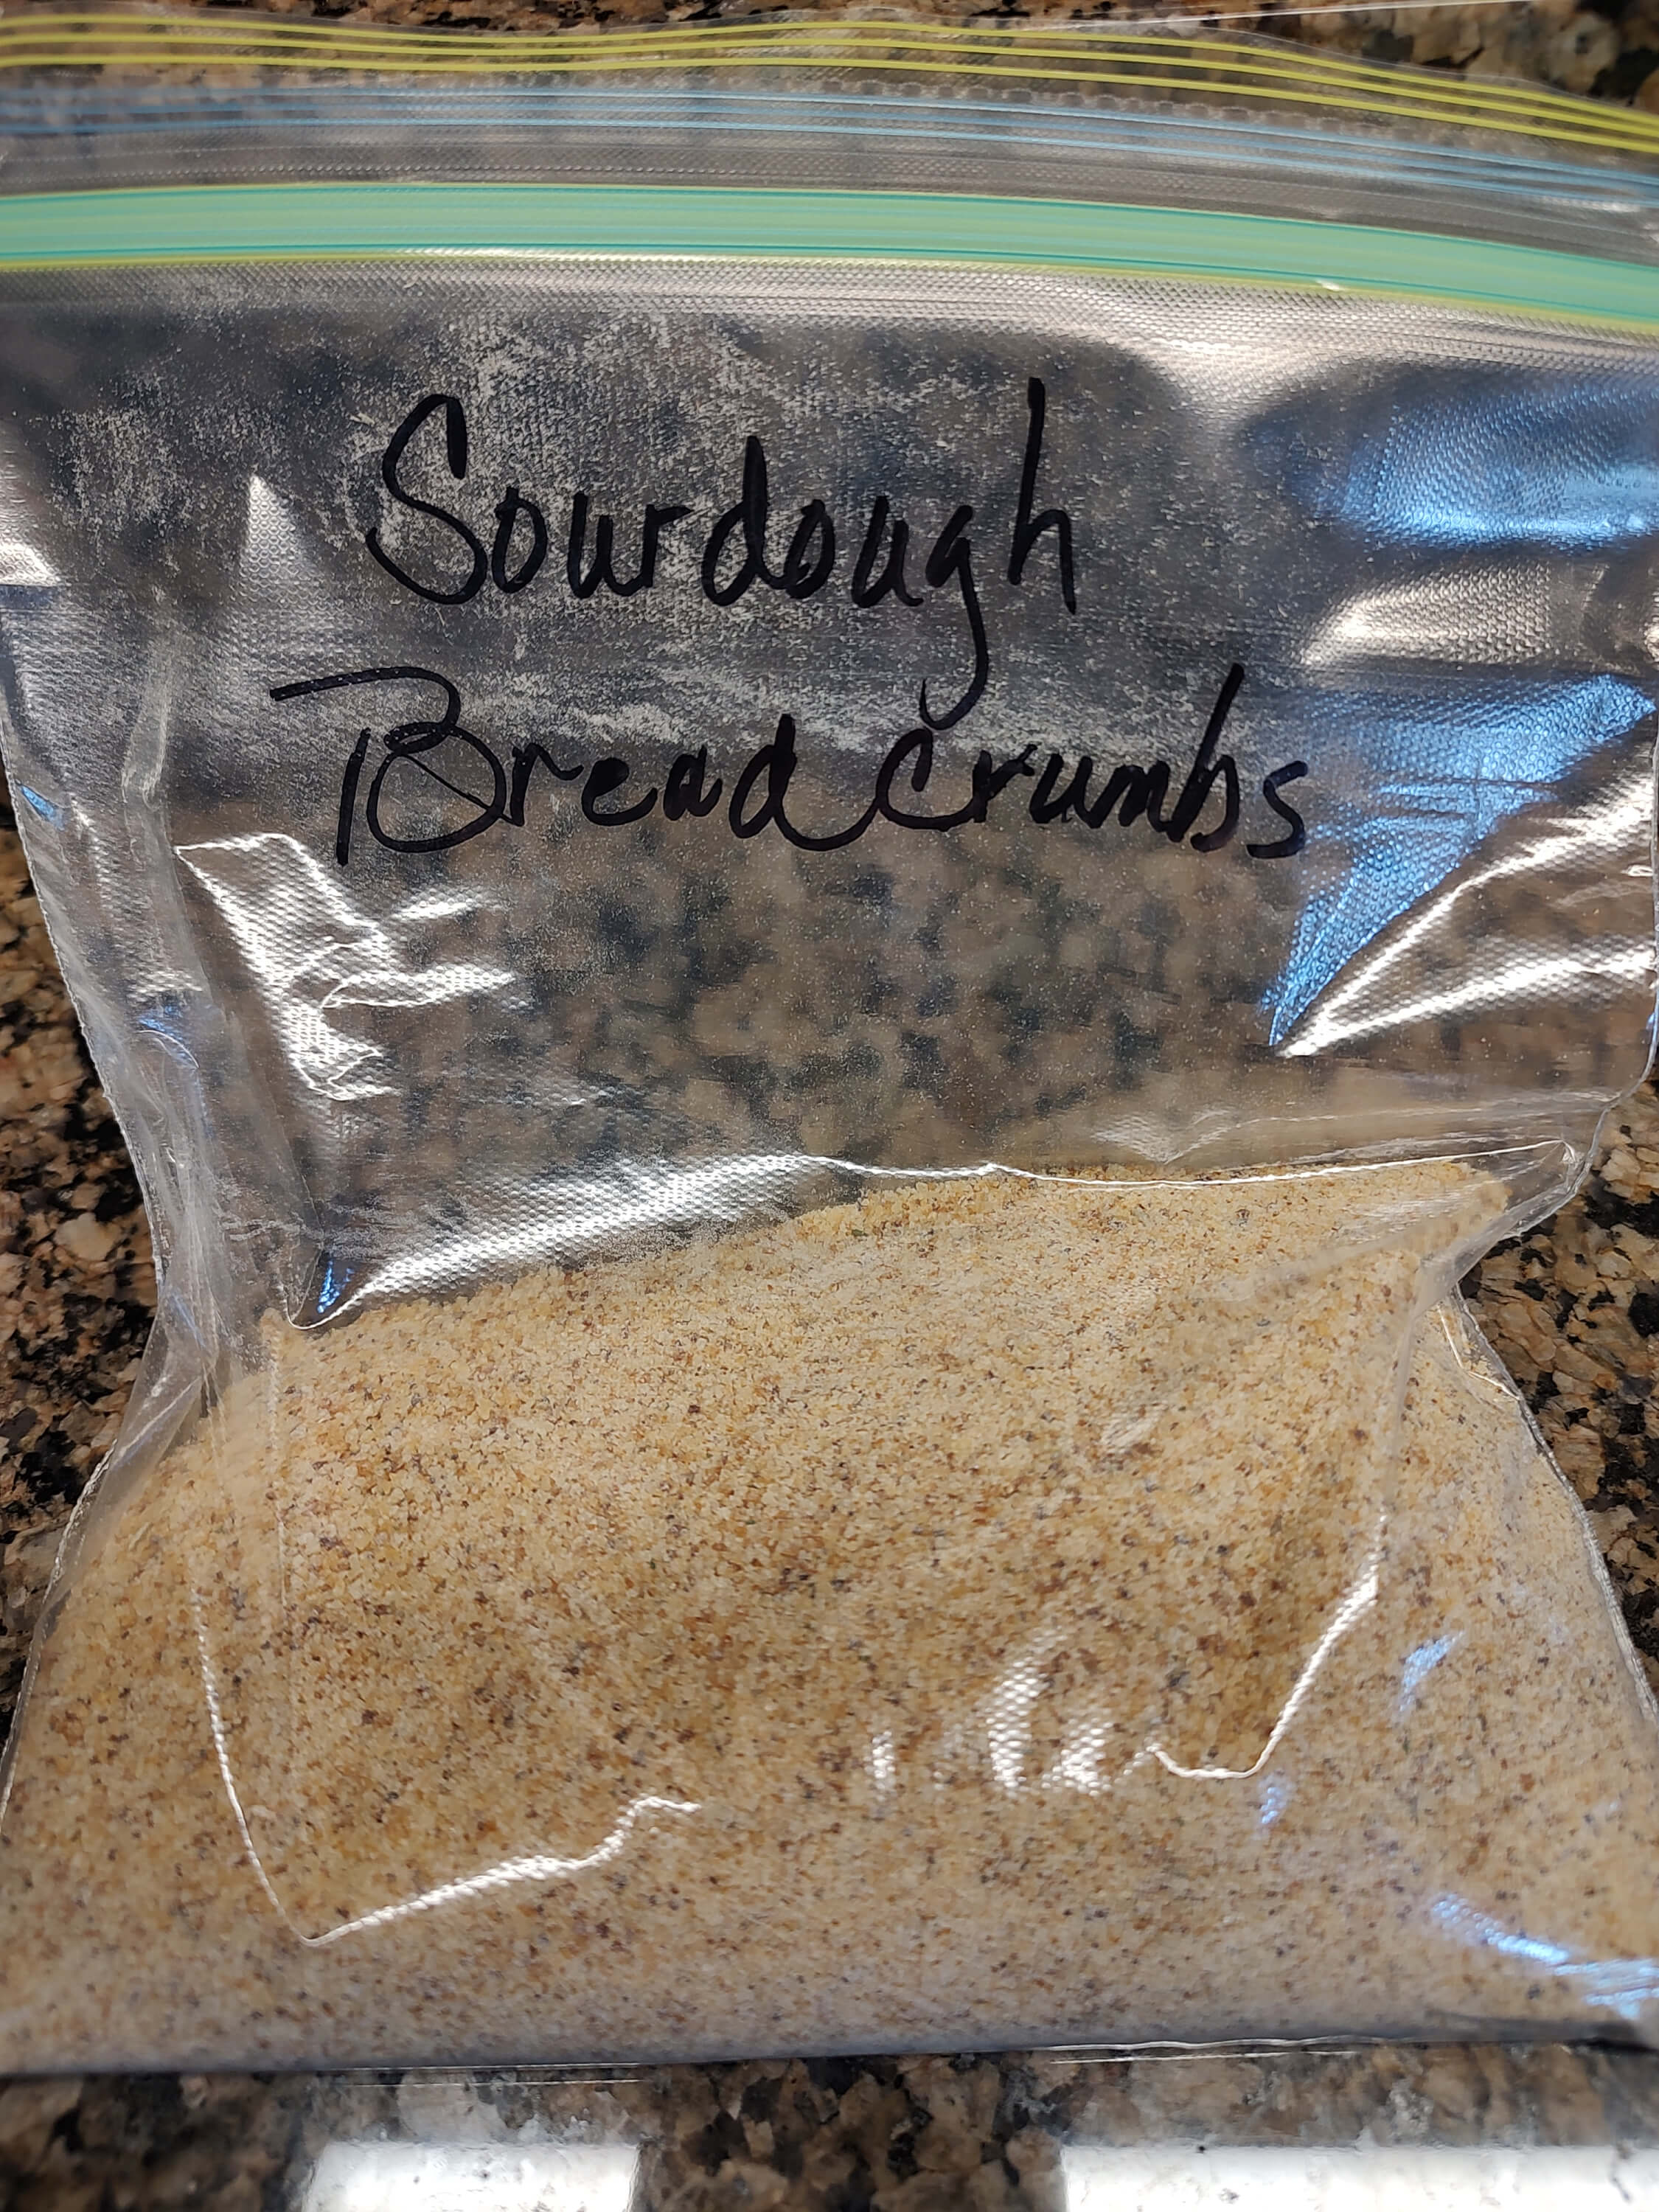
Portion out your breadcrumbs into containers or freezable bags, and into the freezer they go until you're ready to sprinkle, coat, or crunchify to your heart's content!
And there you have it, folks! Fresh, homemade breadcrumbs that'll take your dishes from drab to fab in no time. Who knew old bread could be so darn versatile? Enjoy the breadcrumb adventure!
People often ask me what my Favorite YL Products are. That really kind of depends on a lot of factors - what may be my favorite today could be different than yesterday, depending on what's going on in my life. But if you want to know the Young Living products that I absolutely USE every single day.... click the button below for My Daily Favorites!


0 Comments